
This month has been pretty much all about my obsession with the Clangers! I got the month off to a start with the first post of my series on how to create Clangers miniatures from polymer clay, and this continued all through the month, with ten projects in total!
2. Tiny Clanger
5. Soup Dragon
6. Clangers logo
7. Eggbot
8. Soup tankard
9. Blue string pudding
10. Froglet
And I reviewed the new Clangers toys!
There have been a couple of other arty/crafty posts:
Retrocraft: Art
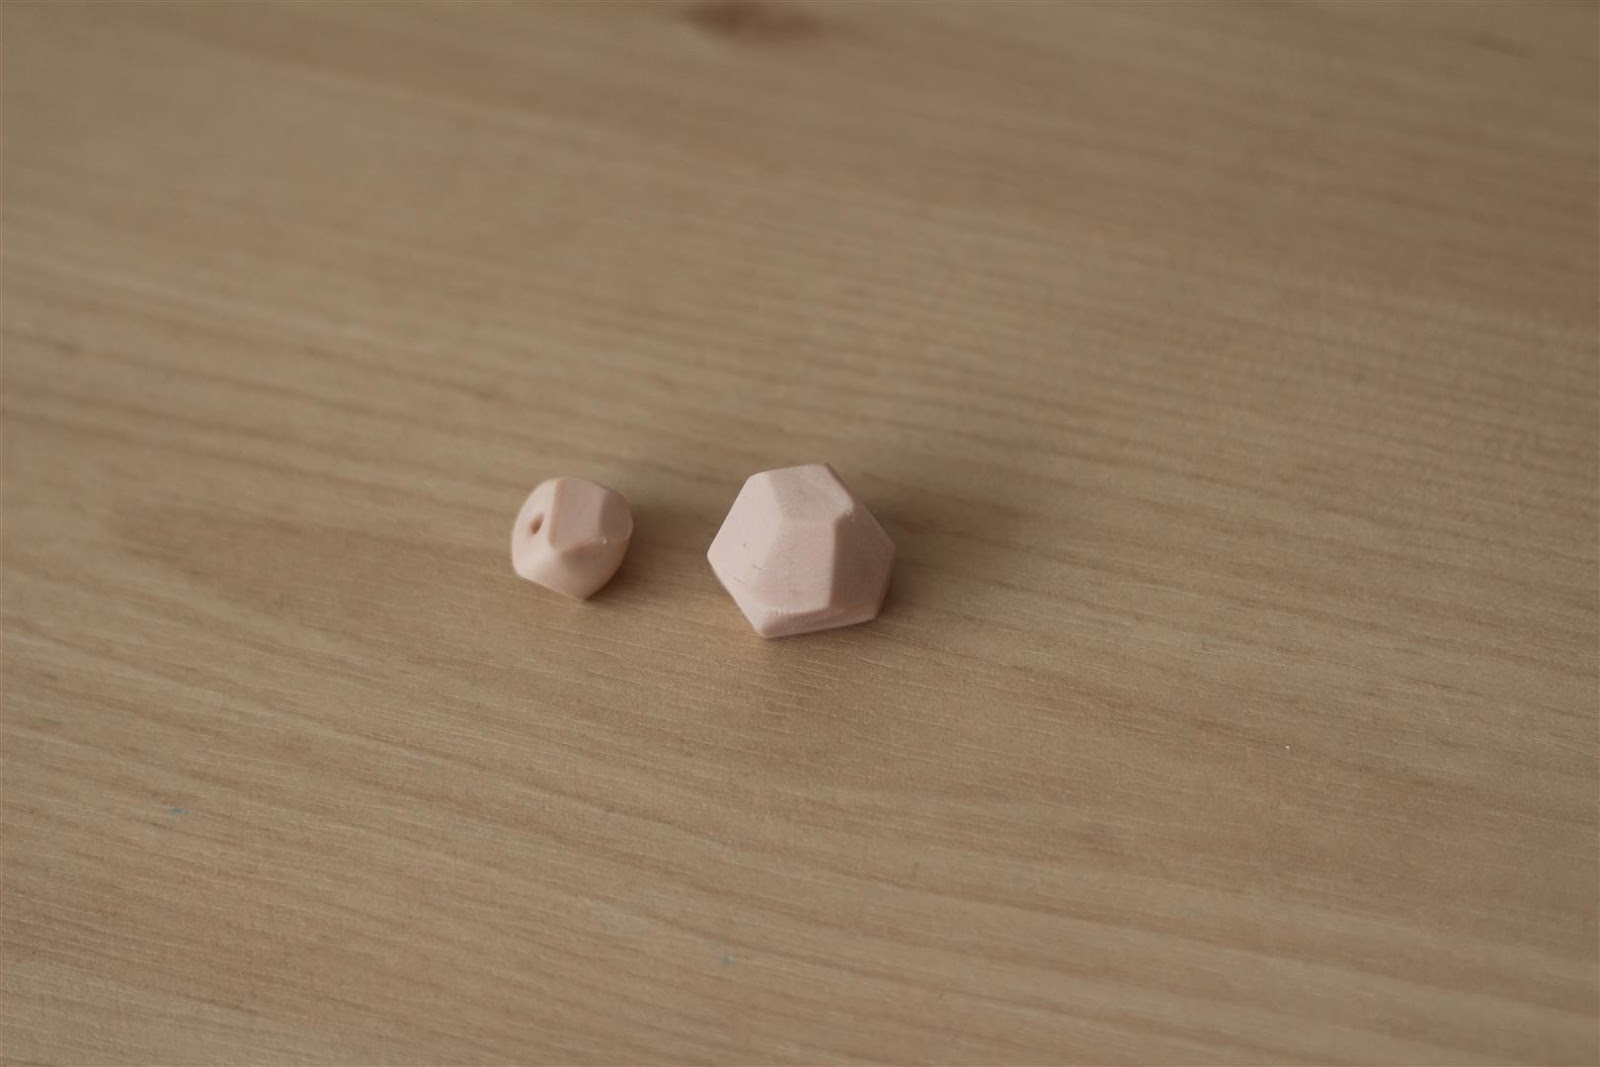
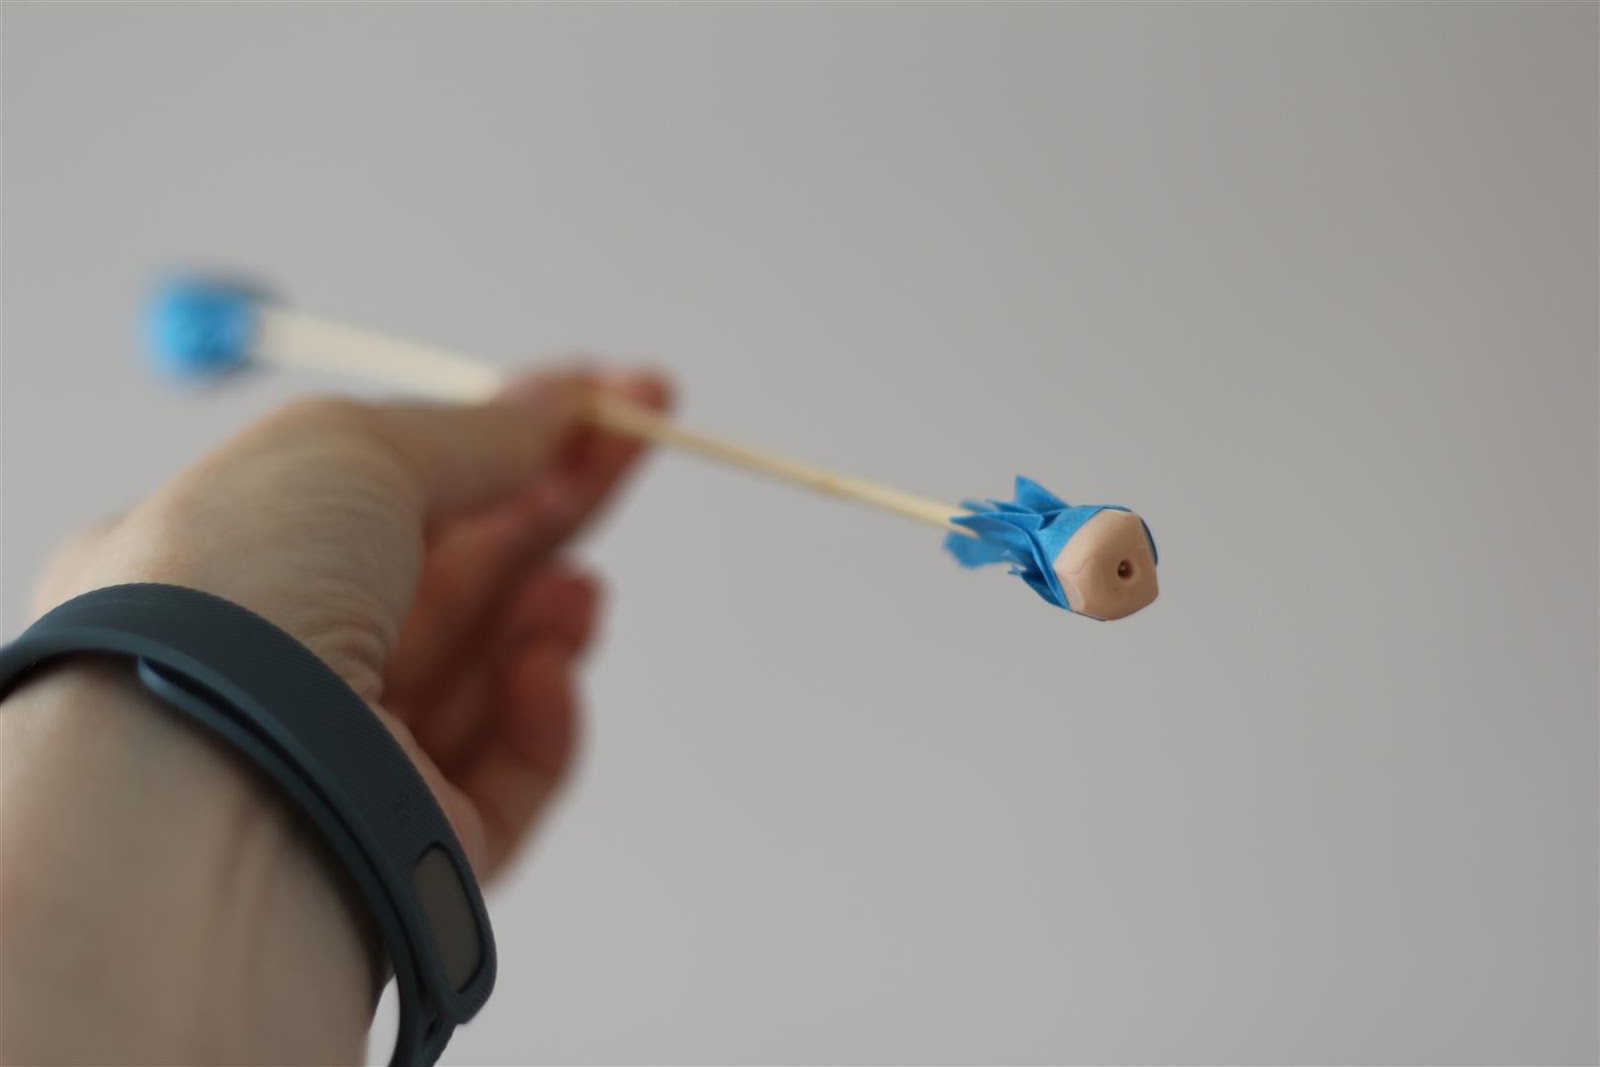
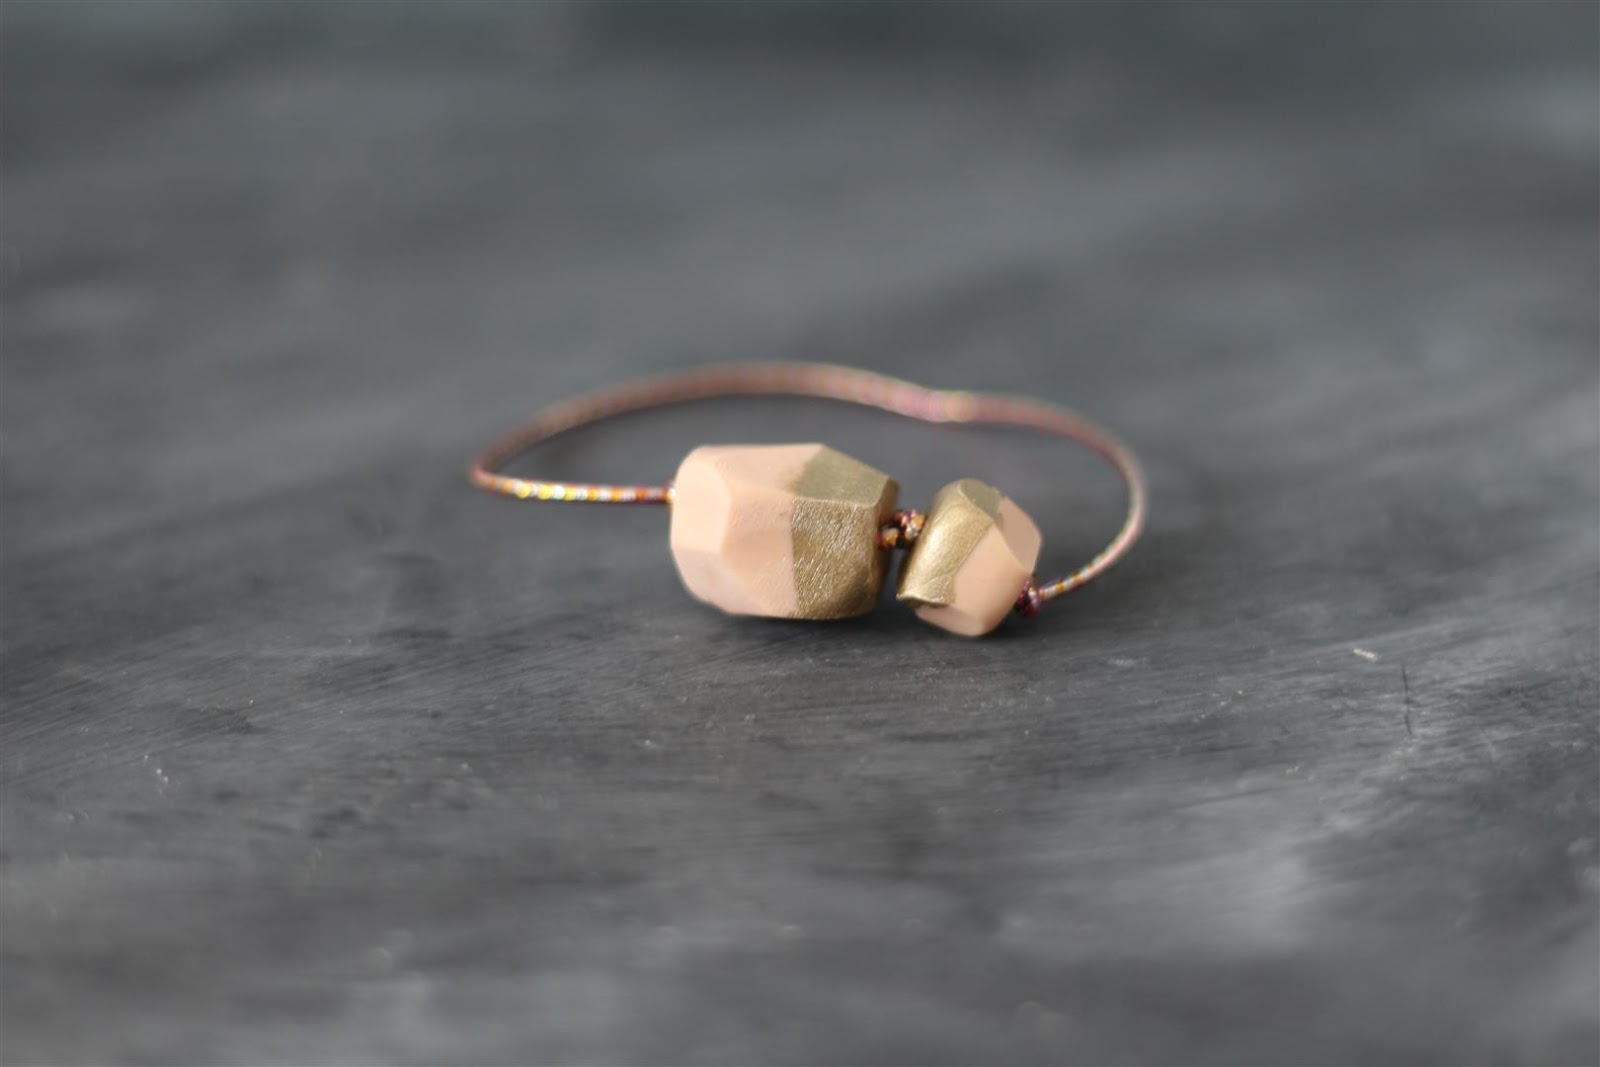
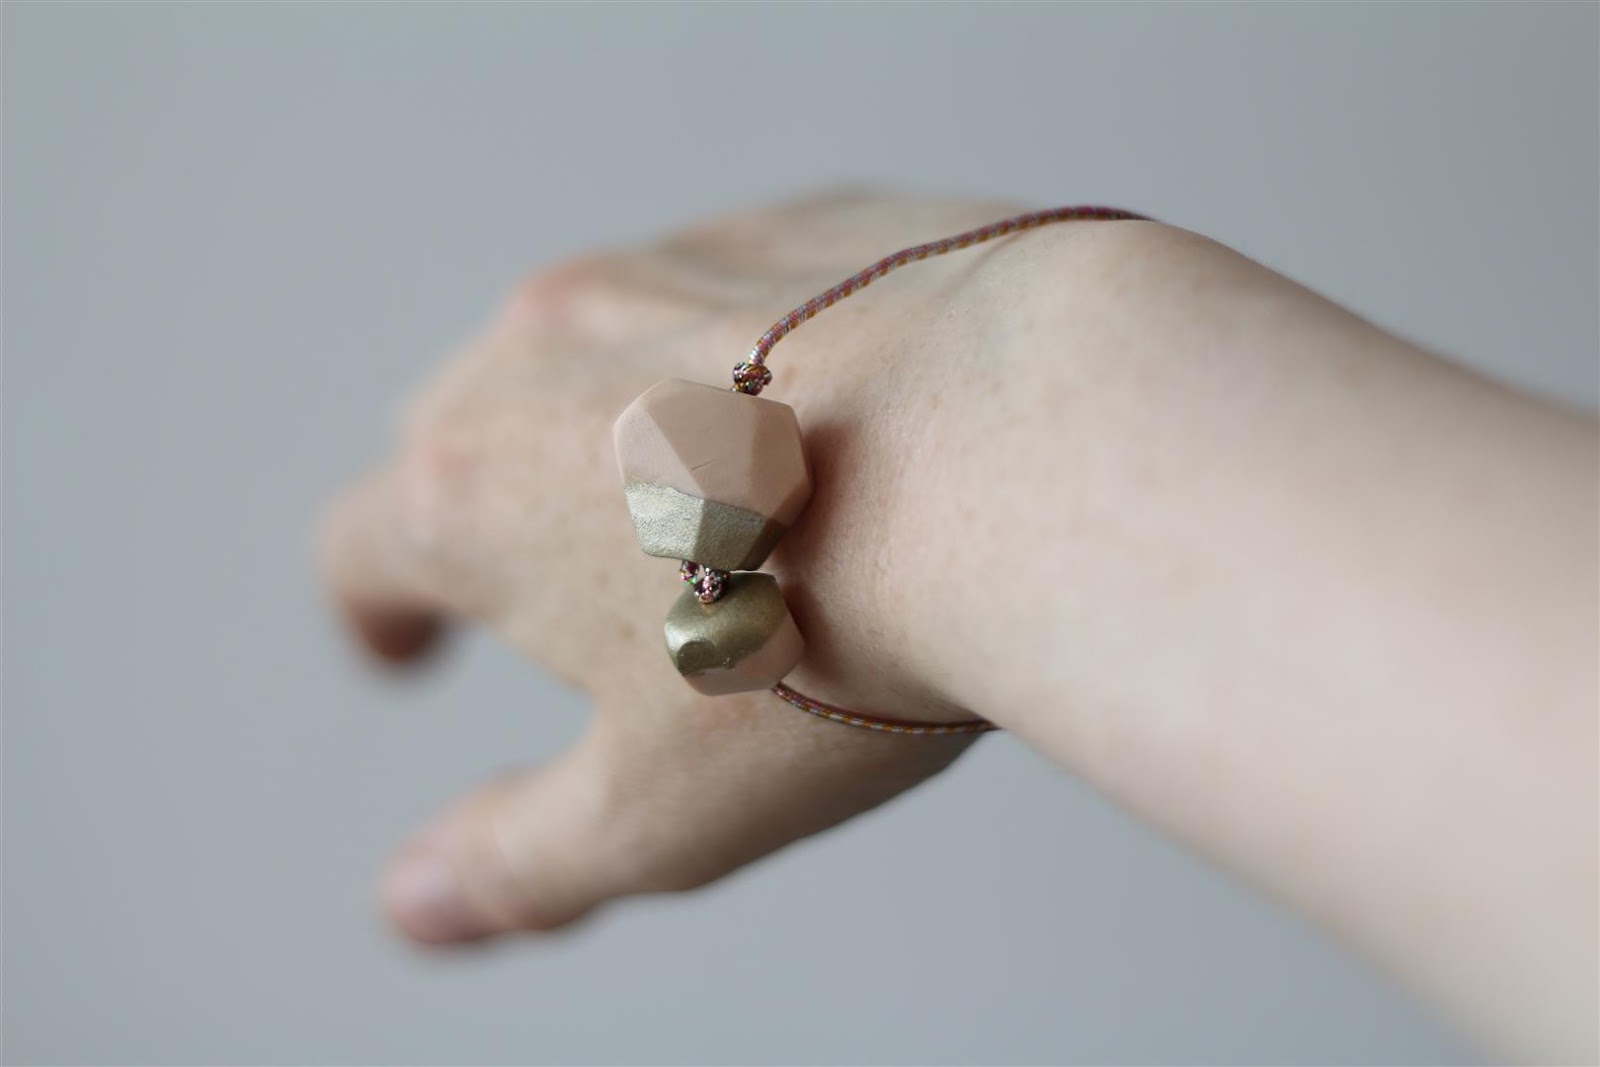
Elasticated bracelet
Double exposures (travel photos)

Some Sunday self-portraits:
Double exposures
Totally tropical
Summer pastels
And I posted about my love for my local libraries, and my first Birchbox.
7. Eggbot
8. Soup tankard
9. Blue string pudding
10. Froglet
And I reviewed the new Clangers toys!
There have been a couple of other arty/crafty posts:
Retrocraft: Art
Elasticated bracelet
Double exposures (travel photos)
Some Sunday self-portraits:
Double exposures
Totally tropical
Summer pastels
And I posted about my love for my local libraries, and my first Birchbox.