31 January 2015

This month on emuse


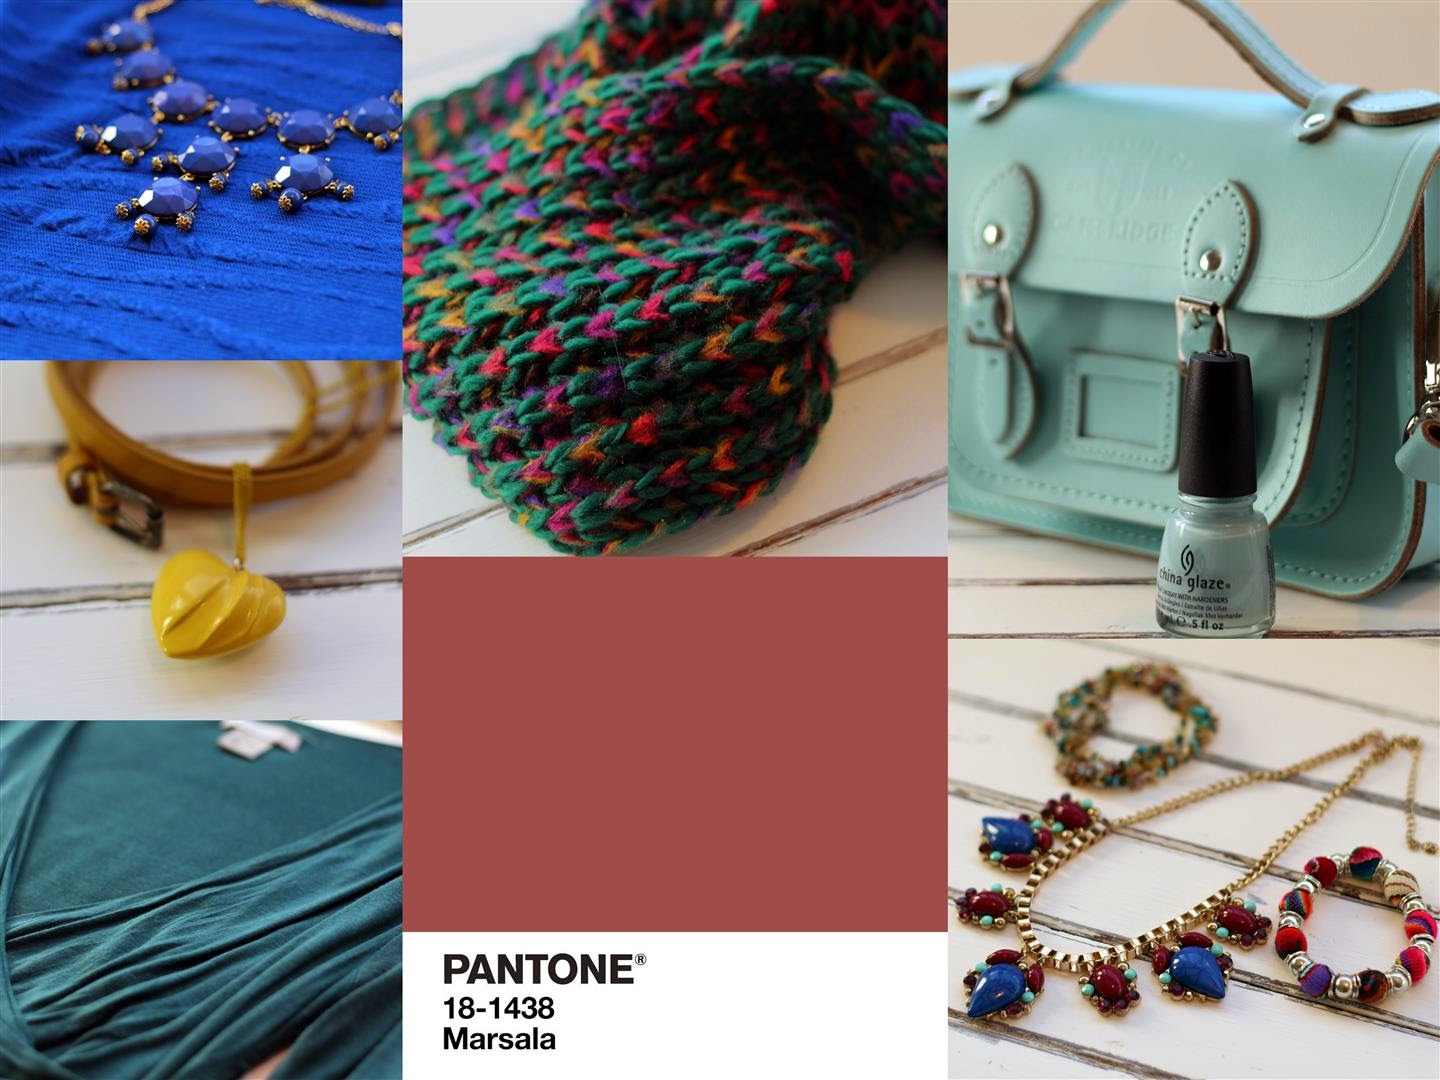
I've brought you all sorts of new crafty projects for the new year. I started off the year with my manifesto, which put into words some of my plans and ideas for the coming year. I also showed you some cute fruit (and veg), which you could make to go along with a healthy eating resolution, and a happy light box to brighten up your home for the new year. I also shared my love of Pantone's colour of 2015, Marsala.

I showed some winter/Christmas projects that I couldn't fit into December:
And shared the list of books I'd read in 2014.

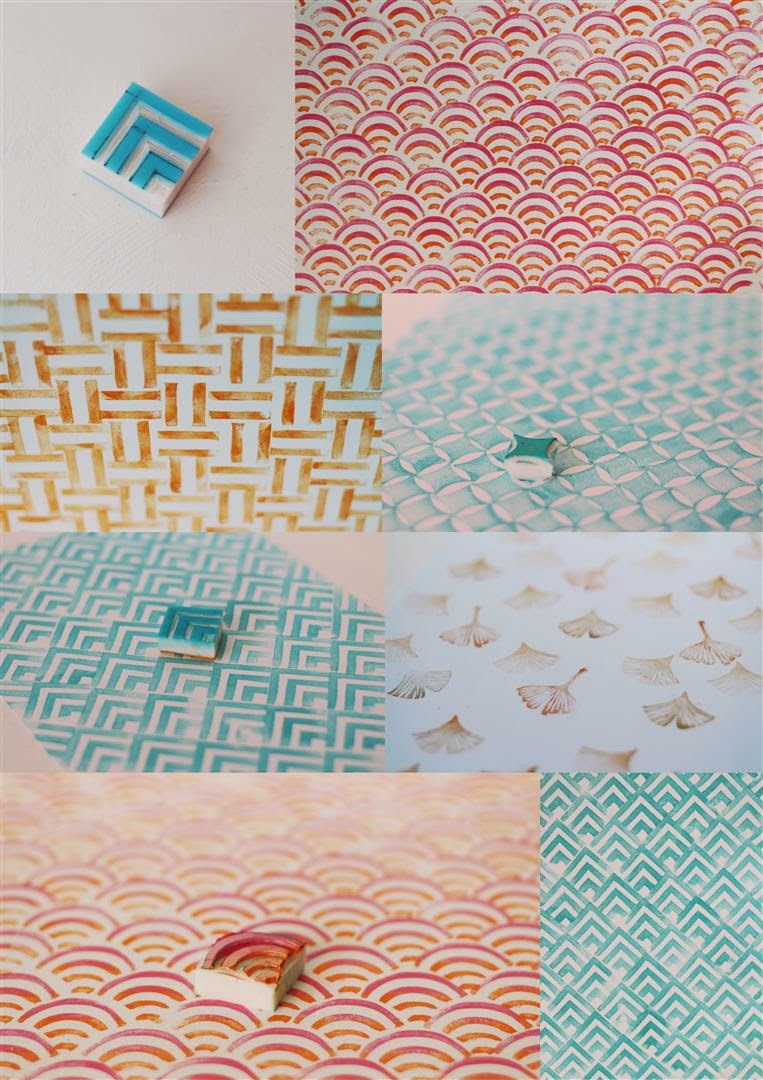
There was a week of Japanese pattern stamps carved from erasers or stamp blocks:
I'm really pleased with how they turned out, and don't they all look pretty together in this mosaic!

And a week of Russian dolls:


I reviewed a great photography book, Photocrafty, and shared my plans for photography challenges/projects over the coming year.
And there were lots of other fun posts:

30 January 2015

This month I have been mostly...

Watching:
At the end of last month I watched Mapp & Lucia, The Royal Institution Christmas Lectures (of course), and The Story of Allegri's Miserere (for about the twentieth time!). This month I've watched The Inca: Masters of the Clouds, Spiral, Broadchurch, Silent Witness, The Big Allotment Challenge, and I binge-watched Gok Cooks Chinese which I'd recorded (and now I really want to go to the Chinese supermarket and stock up!). I enjoyed Brew Masters, about making the Peruvian beer chicha, especially as I think one of the places they visited was the very place I tasted chicha! I've also been watching the season about the Tudors...

Reading:
...because I started reading Wolf Hall by Hilary Mantel. I'd had it on my kindle for a very long time, but I hadn't got round to reading it because I wasn't in the mood for a long or historical read until now, and my timing was perfect seeing as the dramatisation of it was coming on TV, something I hadn't realised when I started reading it. At first I didn't really take to the characters or the story, but the way that she wrote, the lyricalness of her language, kept me reading, and then I really got into it. It's been interesting reading the book and watching various dramas and factual programmes on the same subject on TV, and comparing the different portrayals of the same characters and events. It made me realise that the same events and people can be interpreted in lots of different ways.

Wearing:
I've got quite a few new and thrifted clothing items over the past few months, so I've been having fun wearing them. I love my strawberry jumper from White Stuff which matches perfectly with my cherry red M&S jeggings. And it makes a change from all the Scandinavian jumpers. I'll show off some of the thrifted items soon!


I'm still getting on fine with my braces, no discomfort, and I'm already seeing some progress. The small overlap on my front two teeth is gone, and the incisor beside them is much straighter! I will be back at the orthodontist for my first adjustment early next month.

29 January 2015

Tunnock's Teacake brooches

This is a project that has already appeared as a guest post on Scot Bloggers.

If you watched the Commonwealth Games opening ceremony, you would have seen what inspired me to make these - the giant dancing Tunnock's Teacakes! These are a delicious treat that will be familiar to all my Scottish readers, with a biscuity base topped with mallow and enclosed in chocolate.

Here's how I made my brooches. It was quite a challenge to simplify the design enough to make them possible to make quickly, but still be recognisable.
1. Cut two circles of grey felt, and a smaller circle of red felt.
2. Embroider red lines across one of the grey circles.
3. Sew a red circle on top of this, using a running stitch in white thread around the edge. Then embroider an eight-pointed star in the middle.
4. Use blanket stitch to sew around the edge, leaving about an inch so you can stuff it.
5. Stuff, and finish sewing around the edge with blanket stitch.
6. Sew a brooch back on.

These sold like hot cakes at my craft sale! I loved seeing people's smiles of delight when they saw them! I had to go home and make more that weekend as lots of people were asking for more.

I presented them by putting them on yellow card, with my logo stamped in red, matching the colours of the Tunnock's packaging.


28 January 2015

Decorated tins and boxes


I've featured quite a few ideas for decorating tins, boxes and other containers over the years, so I thought I would bring some of them together in this post.

Above is a memory box that won me a prize in a local flower show. It's a chocolate box decorated with scrapbook papers.

It's really easy to decorate all sorts of boxes and tins, no matter what they are made of. As long as the surface is flat, you can use pretty papers and glue or Mod Podge to make them look completely different.

 Tiny tin with a tiny scrapbook showing the famous people I've met

Lots of tins
Birdie tin

Decorated matchbox

Tins decorated with origami paper

And more tins decorated with origami paper

Rectangu-robin started out as the box that my business cards came in!

27 January 2015

I love... Marsala!

Pantone's colour of the year for 2015 had a bit of criticism when it was first announced, but I've taken a liking to it! I think it works as a great neutral in my wardrobe and I can see many examples of it in my home too!

Just before I'd seen what the colour of 2015 was going to be, I had ordered a jumper with a strawberry on it from White Stuff, and a pair of jeggings from M&S. The jeggings and the strawberry are close to marsala in colour. I'd also bought a top from H&M that's almost exactly marsala, and in the sales I got another pair of M&S jeggings (seeing as I wore the other ones all the time for the few weeks after I got them!) which are also almost exactly marsala. I got a necklace for £3 in the New Look sale which has marsala along with royal blue and turquoise. And I love my wine coloured tights that I got from Primark a year or two ago, and my Essie nail polish.

Here is a little display in my home that was inspired by marsala:


It's a really versatile colour, that matches well with lots of other colours. Here are some of the colour pairings that Pantone suggests. It goes well with greys, pale yellows, mustards, royal blue, mint, turquoise, orange, peach, pink, and greyish blues. I've seen it paired with duck-egg blue a lot, so my new Cambridge Satchel will work brilliantly with marsala! Here are some clothing items I have that match well with marsala, including my skirt and top made from a vintage dress, 


I'm interested to see if marsala will make its way into any of my craft projects this year!

26 January 2015

2015 photography challenges

I bought a great book, Photocrafty, just after Christmas, and it gave me all sorts of ideas for photography challenges! So I've made a big list of things I'd like to try, some of them from Photocrafty, some of them from the A Beautiful Mess Photo Idea Book, some of them from elsewhere, and some that I dreamed up by myself. I'm sure I won't get anywhere near doing all of these this year, but it'll be fun to see how many I can do and tick them off!

They are not in any logical order, just the order that they occurred to me in! And I may add more as the year goes on.

I've already ticked off two on the list, to take self portraits holding my vintage suitcase and a vintage camera from my parents' collection. I used some Photoshop actions on the photos to make them look more vintage, and I love how it makes the shed door, my dress and the suitcase all look the same colour.

1. Self portrait with a cool mural
2. Bokeh shapes using black card
3. Self portrait in a vintage style holding old camera (done!)
4. Food photography inspired by the Istanbul cookbook I got Dad
5. Chiaroscuro style still-life
6. Shadows (of me or other things)
7. Shutter zoom
8. For a day, photograph items of one colour
9. Cut-paper silhouette from a profile photo
10. Flipped reflection
11. Collect photos of letters and numbers
12. Use a toy/disposable camera
13. Panning
14. 50 shots of one thing
15. Macro photos
16. Recreate a vintage family photo
17. Recreate a famous painting
18. Photograph an event
19. Shoot from the hip for a day
20. Use a large picture frame in self portraits
21. Photograph a landscape or townscape in a glass ball
22. Make a cool backdrop from paper or fabric
23. Vibration of liquid on an old speaker
24. Light sensitive paper
25. Use scanner to photograph items
26. Abstract photos
27. Hockney style montage
28. Pinhole photography
29. Make fish eye lens from door security viewer
30. Make and use a ring flash
31. Homemade stereoscope
32. Take photos through a vintage camera
33. Make a diffuser for pop-up flash
34. Use orange gel or sweet wrapper on flash to mimic the golden hour
35. Spirograph style photos of a torch
36. Photograph the scene of an old photo and merge the two
37. Self portrait with vintage suitcase (done!)
38. Pick up items on a walk and photograph them
39. Self portrait with battery xmas lights
40. Backlit self portrait
41. Jumping photos
42. Selective coloured photos
43. Self portraits for a month (hands, feet, details)
44. Diptychs/Triptychs
45. Use the A Beautiful Mess app to add fun elements to photos
46. Photo from above
47. Upside-down self portrait
48. Interesting costumes and makeup (inspired by Kevin Aucoin makeup book)
49. Black and white photos
50. Self portraits with silly string or coloured powders
51. Self portraits inspired by Little Paris Kitchen cookbook
52. Free lensing
53. Use a CD drive lens as a smartphone macro lens
54. Buy and use a Holga turret
55. Buy and use a selfie stick with phone
56. Buy and use some iphone lenses
25 January 2015

Knitted beanie

One of the things my parents got me for Christmas was a kit for knitting a beanie hat. I got straight to work on it over the Christmas holidays!

It was a very simple pattern, but my knitting skills are quite basic so it was a fun little challenge! I learned to cast on with the long tail method rather than my usual way, to do ribbing, moss stitch, increase stitches, and decrease stitches. Although I could knit and purl already, I needed to learn how to do so on alternate stitches for the ribbing and moss stitch. For these techniques, I looked at tutorials online.
I love how the hat turned out, and I was really pleased with myself for managing to follow the pattern and pick up new skills. Now I will have the confidence to try some more knitting patterns!

24 January 2015

Book review: Photocrafty

Every year I have a bit of a post-Christmas splurge on Amazon, and this book, Photocrafty by Sue Venables, was one of the books I bought this year.

The book is full of projects to try with your SLR camera, from the simple beginnings of learning to compose your photos, to some really impressive tricks to try at night with torches, and fun hacks using vintage cameras! I find most photography books a bit dull, because they spend too much time on the technicalities. But I love books like this that are more about how to come up with unique ideas of what to photograph and how to photograph it.

Photocrafty is a good companion book to one of my other favourite photography books, the A Beautiful Mess Photo Idea book, which is also full of inspiration rather than technical details. In fact they are almost the same size, so they will sit neatly together on my bookshelf! As you can see, the A Beautiful Mess book is full of bookmarks, but I could put one on every page of Photocrafty!

I'm feeling really inspired by this book! In fact, I may try to work my way through as many of the projects in it as I can over the coming year.

23 January 2015

Harlequin Russian dolls


Today's the last day of my Russian dolls themed week. These dolls are quite small, the largest being just a few inches high. They were part of a "Paint your own Princess Dolls" kit that I found in the bookshop The Works for a few pounds. I really should go back and buy some more!

I love looking at images of Russian dolls online, and I've got a Pinterest board full of them. I loved the triangles on these dolls, the dark wood of these, the face of this doll, the vintage look of these, and the colours of a painting here (which also happen to be similar to the colours in my bathroom).

1. I painted the dolls with a couple of coats of interior wax to give a darker wood appearance.
2. I stuck washi tape to paper and used different sizes of circle punches to punch it out. Then I peeled it off and stuck to the dolls where I wanted the face.
3. I drew triangles all over with a pencil.
4. I filled in the triangles with various colours of paint - three colours of turquoise, and an orange mixed from red and yellow.
5. After peeling off the washi tape, I dotted on black and pink paint with a cocktail stick for the eyes and cheeks, and tiny dots of white as highlights in the eyes.
6. I gave them a coat of varnish.
7. I ran a craft knife around the join before separating the halves.

I think they are going to be very much at home in my bathroom!


22 January 2015

Russian doll clay pendant


Here's a fun colourful Russian doll pendant to brighten up a dull January!

This pendant is a great clay project for beginners, because it just uses the most basic clay colours! I'd recently decided to get some Kato polymer clay, a brand I'd been meaning to try for a while, so I just bought the primary colours plus black and white, which is just what's needed for this pendant.
1. After warming up the white clay, roll it out (I used a pasta maker on a thick setting).
2. Draw a Russian doll shape (you could draw round a Russian doll) and use this template to cut the clay to shape.
3. I pressed some textured paper to the clay to give it texture, but you can leave it plain if you like.

4. Make dots around the face and body with an embossing tool or pin head, and remember to make a hole at the top.
5. Add the details in different colours of clay. The flower, dots, cheeks and eyes are made with small balls of clay. The eyelashes are teeny tiny sausages of black clay. The top lip is a sausage shape with a small dent in the middle, and the bottom lip is a smaller sausage shape.

6. Bake the clay.

7. Add some gloss varnish to the facial features and flower.

8. Add a jump ring to the top, and hang it from a cord or chain.


Related Posts Plugin for WordPress, Blogger...